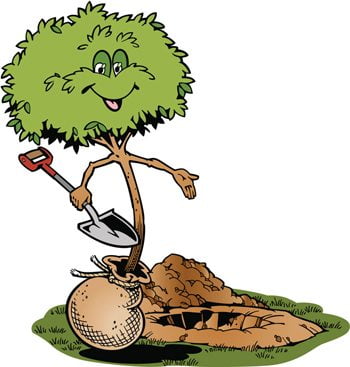
 If you have decided to plant a tree in your yard this year, now is the time to get it done! Whether you are starting from a seedling or transferring a potted plant into the ground, the best time to plant is before the really warm weather arrives.
The tree will have time to germinate, stabilize, and build a properly functioning root system before the onset of summer heat.
Planting a tree is more than just digging a hole and dropping in a plant; it’s finding the right spot, the perfect plant, and putting a plan into action.
Below is a step-by-step process for selection, preparation and planting a tree.
Step One – Tree Selection
- Select a tree that suits your property and the desired look of your landscape. If you have a lot of green already in your yard then choose a colorful ornamental tree that will attract attention!
- Check the pH balance of your soil to have a better understanding of the types of trees that will grow best on your property. If your dirt has high levels of acidity, visit our blog about Native NJ Trees for some information.
- Examine the amount of shade on your property to determine if your new tree will have to be able to withstand long days of brutal summer sun or lengthy periods of time in the shade.
- Look for signs of erosion or standing water in your yard. Plan accordingly when selecting a tree. Some varieties of trees can help manage these issues but they will not typically fix the problem entirely. Seeking professional help, in the form of a free estimate, for one of these problems before planting will absolutely save you time and money.
Pro Tip: Surveying your own landscape on a routine basis is a great way to get in touch with your yard’s unique ecosystem. Knowing about the plant life, animals, amount of sunlight and minerals in your soil will positively impact the future growth and beauty of your property and its value.
Step Two – Prepare Your Land and Tree
- Measure the height, width and depth of your tree, including the root ball, for the most accurate dimensions of how it will fit into your yard.
- Select and clear the piece of land where your tree will be planted; examine the area for possible issues such as other plants, structures and accessibility to hungry deer and other wildlife.
- Plan to dig a hole for your new tree that is several inches larger than the tree’s root ball. Your tree should sit approximately one to three inches above ground level when placed in the hole.
- Choose the “face” of your tree by looking at all of the sides and determining which one you want to showcase the most. Place the most lush and colorful side to show to the world to make a great impression.
- Remove any tags, wiring or dead braches from your tree. This will enable your tree to grow without being encumbered. Trimming back dead branches will help the tree prosper.
Pro Tip: Remember that your tree needs room to grown both above and below the ground. Check the area where you intend to plant the tree for potential issues such as building structures, driveways, or pools. Roots in the wrong place can cause damage which will lead to more costs down the road.
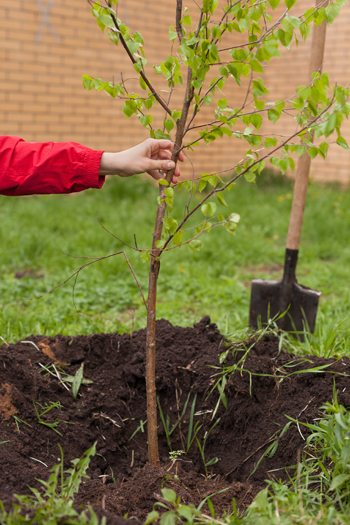
 Step Three – Time to Plant
- Remove plastic potting or loosen the burlap from the root ball while trying to keep as much soil intact as possible.
- If your tree has become root bound you will need to slice the roots across the bottom and along four sides to allow for the tree to germinate once in the earth.
- Place your tree in its hole and position it in the direction of your pleasing. The position of your plant will affect how it grows so use a level to help make sure it is straight.
- Once your tree is straight and in the correct position, consider using a stake to keep it growing in the right direction and stable for the next couple months to a year.
- Backfill your tree’s new home by alternating between adding soil and packing it down to ensure that your tree is safely and properly in place.
- Create a ring around the tree trunk with two to four inches of mulch. This helps keep the ground moist and the roots covered.
Pro Tip: Don’t place mulch up against the tree’s trunk. Allowing the tree to have space to breathe and grow is important and can easily be stifled with too much mulch.
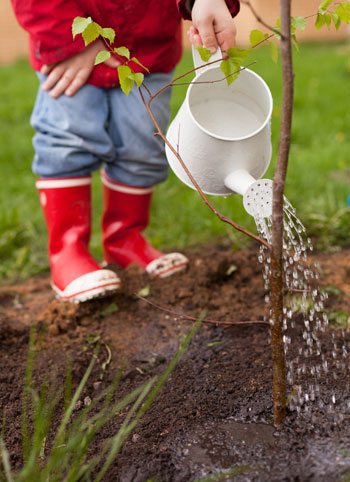
 Step Four – Water
- Freshly planted trees will need plenty of water to maximize their potential for growth. When watering, you should see the area get wet but not so overly saturated that water is lying on top of the ground.
- Slowly water your tree near its dripline – the outermost circumference of your tree’s canopy- to guarantee that you don’t overwater.
- Give your tree water every seven to ten days and even more during the warmer weather.
Pro Tip: Make it easier on yourself by planning ahead of time how you will water your tree. Placing your tree near a water source is a better plan than hauling buckets of water around your landscape all the time.


 Step Three – Time to Plant
 Step Four – Water